
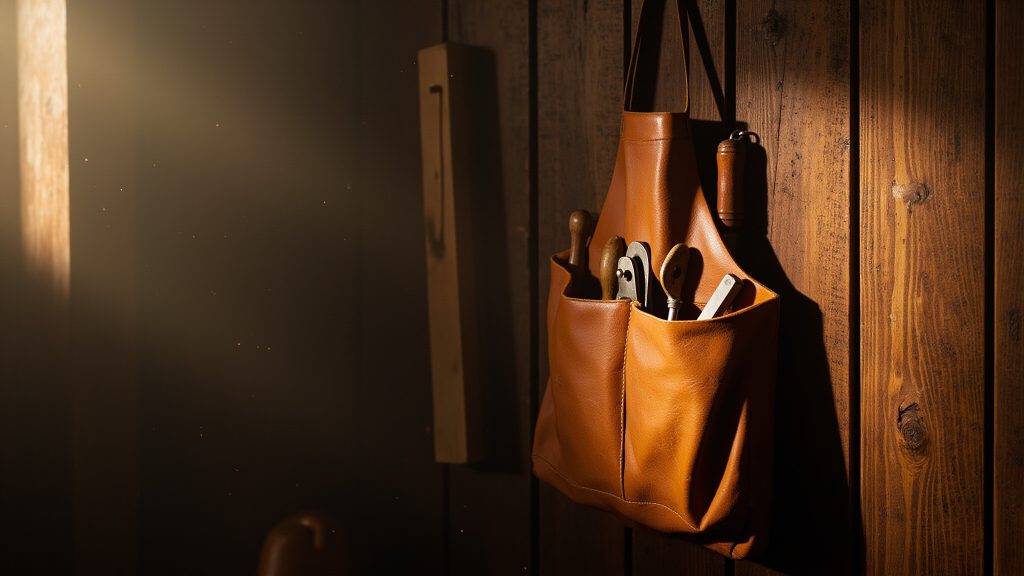
Why a Woodworking Apron Is a Tool, Not Just Clothing
If you’ve ever tied on a flimsy cooking apron, you know the difference immediately. That thin cotton bib with a single pocket is designed to catch spaghetti sauce splatters. Not to hold a chisel, a marking gauge, and a block plane within easy reach. A proper shop apron is a different animal entirely: heavyweight canvas or leather. Structured shoulders, and a layout of tool-specific pockets engineered around how you actually move at the bench.
The core argument for upgrading is simple: every time you walk back to the tool wall for a forgotten item. You break your rhythm and lose focus. A well-organized apron keeps the ten most-used tools on your body. Which means fewer trips, fewer dropped pieces, and, critically, fewer instances of a tool sliding off the bench and landing on a concrete floor. That’s not just convenience; that’s preventing tool loss and protecting your investment.
Weight distribution matters just as much. A quality apron spreads the load across your shoulders and. Hips rather than cinching your waist, which reduces lower-back fatigue during a four-hour glue-up or a long hand-tool session. And let’s not overlook the safety angle: the heavy fabric shields your torso from splinters. Sawdust, and the occasional sharp edge that kicks back from a router table.
The reality is that woodworking aprons for men. When built with full-grain leather or 12-ounce canvas and reinforced stitching, can outlast a decade of weekend projects. That’s why the men in aprons who take their craft seriously treat this as a one-time purchase. Not a disposable accessory. It’s gear, plain and simple.
Canvas vs. Leather: Choosing the Right Material for Your Shop
The material you pick for your shop apron affects more than looks. It determines how the apron holds up under real working conditions. Here’s how the three main options compare.
Canvas: The Versatile Workhorse
Canvas aprons dominate the mid-range market, and for good reason. A 12oz canvas apron is lighter and.
More flexible, making it ideal for all-day wear when you’re moving between the bench, table saw, and assembly table. It breathes better in warmer months and doesn’t restrict your range of motion. Step up to 14oz canvas, and you gain noticeably more durability and stiffness.
It stands up to abrasive edges and. Resists snags better, but it takes longer to break in and feels stiffer across your chest and lap. For general shop work-sanding, assembly, hardware installation-canvas is the sweet spot. Expect to pay $30-$80, and you can toss it in the washing machine when it gets grimy. That’s a major maintenance advantage.
Leather: Maximum Protection, Maximum Investment
If you’re doing heavy joinery. Carving, or any work where chisels and gouges are in play, full-grain leather is the gold standard. It’s tougher than anything else on the market, and it ages beautifully. The patina it develops tells the story of every project. The trade-offs are real: it’s heavier.
Pricier (typically $80-$200+), and requires periodic conditioning with leather balm or oil to prevent drying and cracking. Split leather is a more affordable alternative, but it’s less durable and won’t develop that same rich character.
For carvers and furniture makers who spend hours at the bench, leather’s protection is worth every penny.
Denim: The Budget-Friendly Option
For light tasks-finishing. Staining, or quick shop organization-denim aprons run $20-$40 and offer a lightweight, breathable option that feels almost like wearing a favorite pair of jeans. The catch? They’re not as protective against sharp tools or heavy impacts, and they won’t last as long under regular use. Think of denim as your starter apron or a backup for visitors.
The Bottom Line
Match the material to the work: leather for heavy joinery and. Carving, canvas for general shop work, and denim for light tasks.
If you’re still weighing options. Many of the best men’s cooking apron designs share the same pocket layouts and material logic-so the principles transfer.
Just remember: leather demands conditioning, while canvas can be washed. Factor that maintenance into your decision before you commit.
Pocket Architecture: Where Your Tools Should Live
A frustrating afternoon versus a smooth workflow often comes down to how your apron handles weight and access. When you’re picking out woodworking aprons for men, pocket count matters less than where those pockets sit. You want at least 4-6 pockets total.
But they need to be zoned: chest-level for pencils, rules, and a marking gauge; waist-level for chisels, a block plane, or a mallet; and side loops for a hammer or a framing square. Chest pockets should sit high enough that you can grab a pencil without breaking your shoulder line.
But not so high that the tool tip digs into your collarbone when you bend over. Waist pockets need to be deep enough for a 6″ rule standing upright. Yet shallow enough that you can pull a chisel out one-handed while your other hand holds the workpiece.
Reinforcement isn’t optional. Look for rivets at stress points and. Double stitching along the bottom seams – that’s where a 12-oz framing hammer will eventually tear through cheap canvas.
Pocket depth is a Goldilocks game: too deep. And small parts vanish into a black hole; too shallow, and a 4″ chisel tips out when you lean over the bench really.
A dedicated utility pocket for your phone or a combination square should have a snap or Velcro closure. Because a falling phone on a concrete shop floor is an $800 mistake. Before you commit, load the apron with your most-used tools and simulate reaching, bending, and walking to the miter saw really. If anything snags or shifts, move on.
The right pocket architecture disappears – you stop thinking about it and start thinking about the cut.
Cross-Back Straps and Ergonomics: Preventing Neck Strain
Spend a full Saturday in the shop with a traditional neck-strap apron and you know the drill. By hour three.
The pressure on your cervical spine turns into a dull ache that pulls your focus off the cut line. That’s why cross-back straps have become the default recommendation in serious woodworking aprons for men who log long bench hours. The straps run diagonally across your upper back. Spreading the apron’s loaded weight over the trapezius and shoulder blades instead of dumping it on the C3-C7 vertebrae. The payoff: less forward-head posture and a lot less fatigue.
A neck strap acts like a point load on the spine. Every chisel, plane, and square in the front pockets pulls straight down on the same vertebrae. Cross-back geometry changes the force vector entirely, and it also fixes the slipping problem.
Bend over the bench to mark a dovetail or reach for stock on the floor. And a neck-strap apron rides up and shifts.
A cross-back harness stays planted because the straps anchor against your scapulae.
Look for adjustable buckles or quick-release clips at the shoulder and side seams. Those let you dial in the fit over a t-shirt or a heavy flannel.
A waist belt that cinches at the hips is non-negotiable. It transfers a good chunk of the load to your pelvis, which is built to carry weight. Before you commit, load every pocket with your daily drivers-hammer, tape, marking gauge, pencils-and bend, reach, and twist.
If the apron shifts or the straps dig in, move on. The right fit should feel like a second skin, not a harness.
Build Your Own vs. Buy: A Cost-Benefit Analysis
Weighing DIY against buying starts with materials. A canvas or leather apron. Webbing straps, and solid buckles run $40 to $100 at retail, assuming you already own a heavy-duty sewing machine that can handle multiple layers of 12-ounce duck canvas or 4-ounce veg-tan leather. Add a weekend of pattern drafting. Test seams, and do-overs, and the real cost climbs past the $50 to $150 you’d pay for a professionally stitched, commercially tested product.
DIY shines when you have specific needs. You can engineer a custom pocket layout for your chisels. A reinforced chest panel for your framing square, and a waist fit that accounts for your tool belt. Wearing something you built feels good. But the downsides are just as real.
Mistakes in stitch tension or strap placement mean no warranty. No returns, and a ruined afternoon if a seam lets go mid-project.
Buying gives you convenience and tested designs. Most quality woodworking aprons for men come with reinforced stress points, adjustable hardware, and often a manufacturer’s guarantee against defects. If you’re honest about your sewing skills, the purchase route is the pragmatic choice. For materials. Check Joann’s fabric section for heavy canvas or browse Amazon for leather hides and brass buckles; both are solid local and online resources.
The decision guide is simple: if you have sewing experience and specific ergonomic demands, DIY can be deeply rewarding. Otherwise, buy, and spend your shop time making sawdust, not fixing seams. And if you’re also shopping for the best men’s cooking apron for weekend grilling.
The same logic applies: tested construction beats a homemade gamble.
Maintenance and the 2026 Buyer’s Checklist
A quality work apron is an investment, and how you treat it determines whether it lasts two years or ten. For canvas. Skip the washing machine-spot clean with mild soap and water, then air dry flat to prevent mildew and fabric distortion. Leather panels demand different care: condition them with neatsfoot oil or beeswax every few months. Especially if your shop swings between dry winters and humid summers.
Denim versions can go in the washer. But expect shrinkage; always air dry to preserve the fit that keeps weight distributed across your shoulders.
Before you hand over your credit card, run through these inspection points. Check stitching density-you want at least 6-8 stitches per inch on every load-bearing seam. Look for rivets at stress points like hammer loops and. Pocket corners, and insist on metal buckles over plastic, which snaps in cold weather.
Reinforced seams at pocket corners and strap attachments are non-negotiable; that’s where most failures start. Finally, load the apron with your typical tool kit in the store.
If it sags or pulls at the neck, walk away.
Your 2026 checklist boils down to five things: material, pocket layout, strap design, hardware, and warranty. Most quality makers back their work with at least a year. The market for woodworking aprons for men has never been better-men in aprons now expect real durability, not costume-grade canvas. Invest in a quality apron now. And you’ll protect both your tools and your lower back for years of safe, efficient shop time.
