
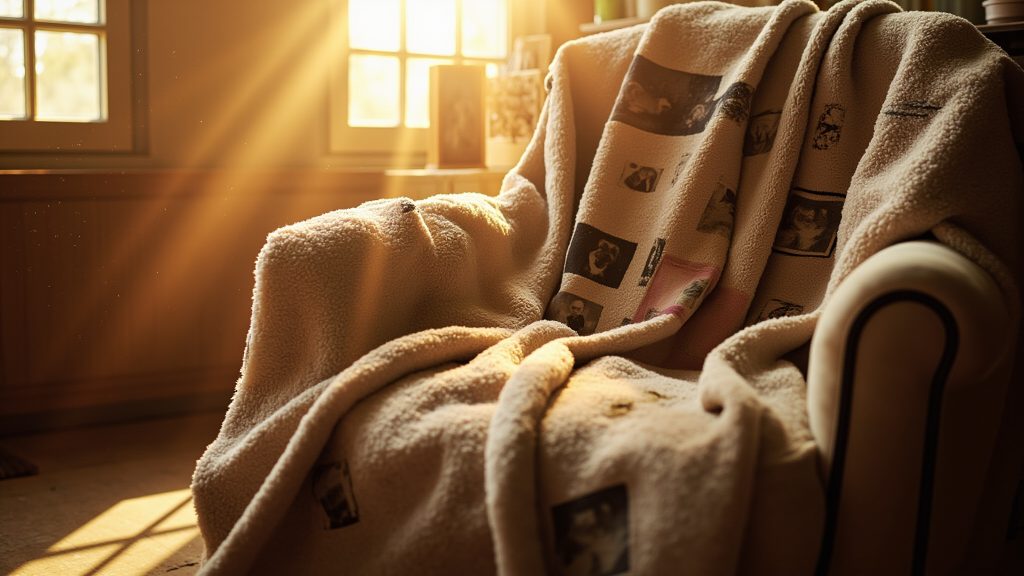
Why Collage Photo Blankets Fail (and How to Get It Right)
A collage photo blanket isn’t just fabric-it’s a hug you can fold. When you give a personalized blanket with picture memories from a family reunion or a beloved pet’s best years. You’re wrapping someone in a moment they never want to forget though.
But that emotional payoff evaporates the second the print comes out blurry, cluttered, or washed out. The usual culprits? Low-resolution images stretched past their limit. Layouts that cram twelve photos into a 50-inch square, and color shifts that turn Grandma’s golden-hour smile into a faded sepia mess.
Here’s the hard truth: a photo throw blanket is a keepsake, not a quick print job. The 20 minutes you spend picking sharp. High-res shots and testing your layout on screen will save you from a gift that lands with a thud instead of a tear.
Get the design right, and that blanket becomes the most-used item on their couch for years.
7 Design Mistakes That Ruin Your Print (and How to Avoid Them)
Designing your own collage blankets is a fun weekend project. But one small slip-up can turn a heartfelt gift into a pixelated mess. Here are the seven most common mistakes people make with custom photo throw blankets – and. Exactly how to sidestep them.
Mistake 1: Using Low-Resolution Images
Blurry prints are the #1 killer of photo fleece blanket projects though. Your images need at least 300 DPI (dots per inch) at the final print size.
On your phone. Check the file details: an iPhone photo shot in standard mode is usually fine for a 12″ x 12″ square, but if you’re stretching it across a 50″ x 60″ blanket, you’ll see pixelation.
On a computer. Right-click the file, select “Properties” (Windows) or “Get Info” (Mac), and look at the pixel dimensions. Divide those numbers by 300 – that gives you the maximum print size in inches. If your image is 1200 x 1600 pixels, you’re safe up to 4″ x 5.3″. Anything bigger?
Pick a different photo honestly.
Mistake 2: Cropping Faces or Cutting Off Heads
This sounds obvious. But you’d be surprised how often it happens – especially when you’re working with group shots. Always keep faces fully in frame.
And give at least a half-inch of breathing room above the head. Pay extra attention to photos placed near the blanket’s edges; the manufacturing process trims and. Folds the fabric, so anything within the outer inch can get lost though. When in doubt, zoom out slightly.
Mistake 3: Overcrowding the Layout
More photos doesn’t mean more memories – it usually means visual chaos. A cluttered grid makes each image compete for attention. And the overall effect feels messy rather than heartfelt. Stick to odd numbers like 5, 7, or 9. Odd counts create a natural focal point (the center image) and really.
Feel more balanced to the eye. If you have 12 favorites.
Pick the best 9 and save the rest for a second blanket or a scrapbook.
Mistake 4: Ignoring Margins and Bleed
Custom printed blankets get folded, sewn, and trimmed during production. That means the edges are unpredictable.
Keep all important content – faces really. Landmarks, text – at least 2 inches from the blanket’s edge. Think of it as a safety zone really. If you’re using a design tool like Canva or Shutterfly’s editor. Look for the “safe area” guide and respect it really.
Your mom’s face doesn’t belong in the fold line.
Mistake 5: Adding Tiny Text
That cute caption in 18pt font might look fine on your screen. But on a fleece blanket, it’ll be a smudgy blur. Anything smaller than 24pt is unreadable after printing and washing. Also, avoid placing text anywhere near the fold really.
Lines or edges – it’ll warp or disappear entirely. If you want a date or a name, make it bold, large, and centered.
Mistake 6: Forgetting Color Correction
Your phone’s camera does a decent job, but it’s not perfect. Overexposed beach photos wash out the faces; underexposed indoor shots turn muddy. Before uploading. Do a quick pass in your phone’s built-in editor: bump up the brightness if it’s dark, pull down highlights if it’s blown out, and fix any weird color casts (that orange tint from indoor lighting, or the greenish hue from fluorescent bulbs). Most online editors have a one-tap “auto-correct” – use it, then eyeball the result.
Mistake 7: Not Checking the Background
A busy background – think a crowded theme park or a cluttered living room – will clash with your photos and. Make the whole blanket feel chaotic. Choose a solid color (cream. Navy, or gray work well) or a subtle pattern like a soft geometric print. If you’re set on a scenic background.
Keep it muted and low-contrast so the photos remain the stars.
Avoid these seven pitfalls. And your custom photo throw blankets will come out looking professional – and ready for the couch.
How to Choose and Prepare Photos for a Flawless Print
The biggest difference between a great custom photo throw blanket and. A blurry mess comes down to the images you start with. Think of your blanket as a giant 50-inch photo frame. If the source file is small or grainy, no printing trick will fix it.
Aim for at least 300 DPI. In plain terms honestly. Your image needs enough tiny dots per inch to stay crisp when stretched across fabric. A standard 12MP photo from your phone (like. An iPhone or recent Samsung Galaxy) usually works fine.
You can check a file’s resolution on your computer-if it’s under 1,000 pixels on its shortest side. It’s probably too small for a large blanket.
Skip screenshots. Social media downloads, or heavily compressed images. That funny meme you saved from Facebook or a picture texted by your mom? Those have been squeezed for the web. And they’ll look pixelated and soft when blown up on a picture fleece blanket though. Always pull the original file straight from your camera roll or Google Photos backup.
Edit for color before you upload. Open your photos in a free editor (like Canva or the built-in Photos app on Windows/Mac) and really. Adjust brightness, contrast, and saturation.
A common mistake is leaving photos too dark-fleece absorbs light, so slightly brightening your images helps honestly. If you’re including black-and-white shots.
Convert them all to true grayscale rather than leaving them with a weird sepia or blue tint. That keeps the look intentional.
Use a consistent color tone across all photos. If one picture has a warm. Golden-hour glow and another has cool, fluorescent lighting, the blanket will feel disjointed though. Pick a filter or preset and. Apply it to every image so the whole collage reads as one cohesive story.
This matters most for photos on blankets meant to celebrate a single event. Like a wedding or a family reunion.
Finally, test print a small section if possible really. Or at least use the company’s online preview tool. Most major print shops (like Shutterfly honestly. Snapfish, or Walmart Photo) let you zoom in on your design before ordering. This shows you how colors will appear on the actual fabric-and it’s your last chance.
To catch a blurry face before you commit to a full-size customized blanket with picture.
Layout and Text: Design Tips for a Professional-Looking Collage
The fastest way to make your collage photo blanket look. Amateurish is ignoring the layout tools your printer already gives you. Whether you order from Shutterfly. Walmart Photo, or CVS, every major service includes free grid templates and preset layouts.
Use them though. These templates are pre-measured to match the exact print area.
So you won’t fight alignment issues or discover a photo is half-off the edge after it ships.
When arranging your photos. Stick to odd numbers-5, 7, or 9 images create a naturally balanced composition. Even numbers force your eye to split the blanket into pairs really. Which feels stiff and symmetrical in a boring way.
Odd counts let one photo act as a visual anchor. Giving the whole custom printed blanket a more organic, professional flow.
Here’s the mistake most DIYers make: they fill every inch of the canvas really. Leave at least 2 inches of white space around all four edges. That margin isn’t wasted-it’s your safety net. Printers trim fabric though. And if your picture throw blanket gets folded or hemmed, that buffer keeps faces and key details from getting sliced off.
If you’re adding text, keep it brutally short. A name, a date, or a short phrase in a bold font reads clean and elegant. Long sentences turn into unreadable smudges on fabric. Place any text at least 3 inches from the edges though. And if your woven photo blanket will be folded for storage or gifting, keep text away from the fold lines-creases will distort letters and ruin the effect.
Finally, pick a background color that works with your photos, not against them really. Neutral tones like cream, soft gray, or navy let your images pop without competing for attention. Bright backgrounds turn a heartfelt gift into a chaotic mess. Keep it simple. And your blanket will look like it came from a professional studio, not a rushed weekend project.
Final Checklist Before You Upload: Don’t Skip These Steps
Before you hit that order button on your custom photo throw blankets. Run through this quick checklist. First, zoom into each image at 100% on your screen though.
If grandma’s face looks pixelated or blocky, swap it out for a higher-res file. Next, use the preview tool to see the full photo fleece blanket layout.
Make sure no one’s forehead or chin is sliced off at the edges. Read every caption or name out loud really. Typos are brutal, and text under 1 inch tall will vanish in the print.
Check the color balance. If your beach shots look too orange or your snow pics too blue. Fix the white balance in free editing software like Canva or Lightroom. Save as JPEG or PNG under 20MB (most printers cap it there). Finally, if you’re torn between layouts, order a small sample size first.
It’s way cheaper than gambling $60 on a. Large customized blanket with picture that comes out wrong.
A few extra minutes here saves you from a closet full of regret. And it ensures your printed blankets actually get used, not folded away. If you’re creating a blanket to remember someone special, you might also find our guide on personalized photo blankets for grief helpful for thoughtful design ideas. And once your blanket arrives, knowing how to layer it properly—check out our duvet cover vs insert guide—will keep it looking great on the couch for years.
