
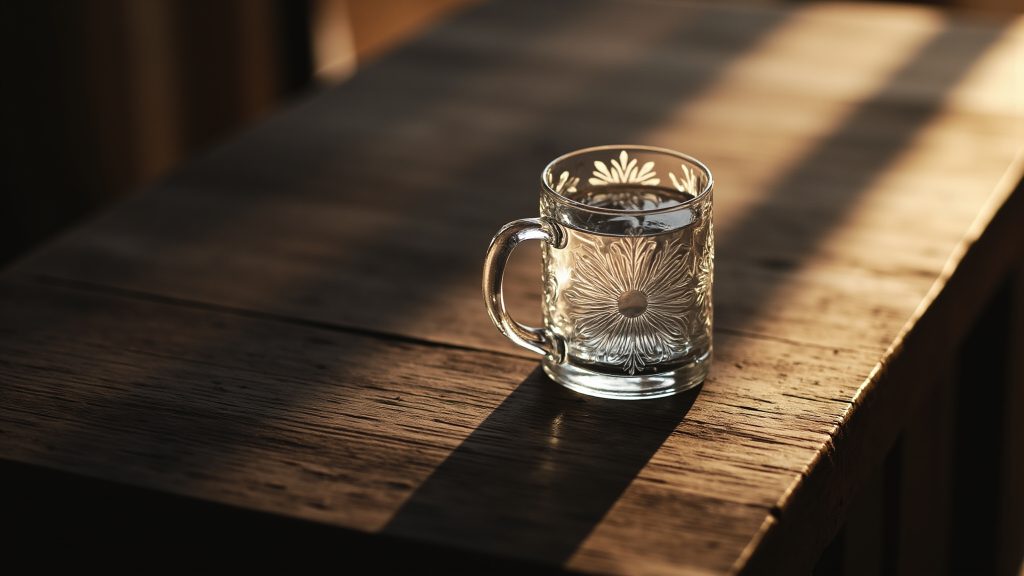
Engraving vs. Etching: What’s the Difference?
At first glance though. glass engraving and glass etching get tossed around like they’re the same thing-especially on Etsy listings and custom gift sites.
But technically, they’re not. Engraving physically cuts into the glass, carving out a groove you can actually feel with your fingernail. Etching, by contrast. Relies on chemicals (like hydrofluoric acid cream) or abrasive blasting to wear down the surface, leaving a frosted, roughened texture without any deep cuts.
Here’s where it gets tricky for most DIYers: laser engraving on glass doesn’t really cut deep at all. The laser fractures the microscopic surface layer.
Giving you that classic white, frosted look-so the result is closer to etching, even though the industry still calls it “laser engraving.” Rotary engraving, which uses a diamond burr or carbide bit, is the true deep-cut method. It’s great for bold, tactile designs but risky on thin glass.
Sandblasting gives you the most durable, even frost, but you’ll need a stencil and proper ventilation. Laser wins for speed and fine detail, though cheaper glass can end up with a slightly chalky finish.
So when someone advertises “hand-etched” mugs, they could mean any of these. For buyers. The practical difference matters: deep engraving holds up better in the dishwasher, while laser-etched glass needs gentler care. Know what you’re paying for before you hit order.
Can You Use a Glowforge on Wine Glasses? Yes, with These Tips
Wondering can Glowforge engrave wine glasses? The short answer is yes, as long as you have the right setup. Glowforge’s CO2 laser handles glass engraving well. Including wine glasses and mugs, by leaving a frosted, permanent mark without cutting through the surface really.
The catch? Cylindrical items like stemware need a rotary attachment to spin the glass evenly under the beam. Skip it. And you’ll end up with a distorted, off-center design that looks amateurish no matter how clean your file is.
Glowforge glass engraving comes down to settings: low power (around 10-20%). High speed (80-100%), and multiple passes instead of one heavy blast. That approach keeps heat buildup low, which is the main reason glass cracks.
Thermal shock is a real risk, especially on thin rims or delicate stems really. A damp paper towel wrapped around the glass helps absorb excess heat and reduces stress honestly. Or try a glass marking spray like CerMark for a darker. More durable etch that also adds a layer of protection.
One hard rule: not all glass is safe. Lead crystal and. Tempered glass can shatter unpredictably under laser heat, so stick to standard soda-lime glass – think everyday wine glasses from Target or Crate & Barrel. Test on a thrift-store glass first, and you’ll have your settings dialed in before touching the good set.
Best Glass Types for Engraving: Borosilicate vs. Soda-Lime
The glass you pick for mug engraving matters almost as much as your laser settings. Two types dominate the drinkware world: borosilicate glass and soda-lime glass. They don’t behave the same under the beam.
Soda-lime glass is what you’ll find in most everyday drinkware. Think standard pint glasses, mason jars, and the bulk of what’s stacked on Target shelves.
It’s cheap, easy to form, and generally safe for laser engraving with proper technique. Because it contains sodium carbonate and.
Lime, it absorbs CO₂ laser energy well, giving you that classic frosted, white-etched finish. For most personalized mugs and tumblers, this is your best bet for crisp contrast and consistent depth.
Borosilicate glass (think Pyrex labware or high-end coffee mugs) is built for thermal resistance. It handles boiling water and. Sudden temperature swings without cracking, which makes it a favorite for pour-over brewers and travel mugs. But that same durability works against you in the laser.
Borosilicate tends to produce a less frosted, more translucent result. It still engraves fine – you’ll get a visible mark – but.
The contrast won’t pop as dramatically as on soda-lime. If you’re engraving a gift for a serious coffee drinker.
Accept the subtler finish in exchange for shatterproof durability.
One hard rule: avoid tempered glass (common in some beer mugs and cheap barware) and lead crystal. Tempered glass is under internal stress. And the laser’s localized heating can cause it to fracture or explode mid-job. Lead crystal, while gorgeous, contains lead oxide that can vaporize into harmful fumes and also cracks unpredictably. Neither is worth the risk to your machine or your fingers.
Finally, watch out for coated or colored glass. Frosted finishes. Metallic paints, or enamel coatings can absorb laser energy differently – sometimes burning, sometimes reflecting the beam. Always test on a hidden spot first, and lower your power by 10-15% if you see discoloration.
Step-by-Step DIY Engraving Guide for Beginners
Ready to try DIY glass engraving at home? The learning curve is shorter than you think. Especially if you already own a Glowforge or similar CO₂ laser. Before you start.
Gather your materials: your laser with a rotary attachment, standard soda-lime glassware (think Target or Walmart beer mugs and wine glasses), painter’s tape, isopropyl alcohol, laser marking spray, and safety glasses rated for your laser’s wavelength. Skip the tempered or crystal glass for now; soda-lime is forgiving and cheap to replace.
Step 1: Clean the glass thoroughly. Wash with warm soapy water. Then wipe down with isopropyl alcohol to remove every trace of oil from your fingers. Any residue will show up as a blotchy burn mark.
Step 2: Apply a thin layer of isopropyl alcohol or honestly. Laser marking spray (like Thermalabs or Enduramark) to the engraving area. This step boosts contrast and reduces micro-cracks that can weaken the glass over time.
Step 3: Set up the rotary attachment and seat the glass securely between the cones. Give it a gentle spin by hand. If it wobbles, your engraving will come out lopsided really.
Step 4: Choose your design and though. Dial in settings. For most Glowforge owners, start at 80% power, 100% speed, and 1-2 passes. Always test on a scrap piece first. Glass thickness varies even within the same six-pack.
Step 5: Run the engraving. Then let the glass cool slowly. Don’t dunk it in cold water or set it on a cold counter. Thermal shock is the #1 killer of laser engraving glass projects.
Step 6: Wipe off the residue with a damp cloth. The frosted, permanent mark is your reward, and the start of a serious habit. For small business owners. These engraved glass mugs sell fast at farmers markets and Etsy shops, especially heading into the holiday gifting season. If you’re planning to pair your engraved mugs with a matching hydration setup, check out this guide to no-leak straw water bottles for gift bundle ideas.
Where to Buy Pre-Engraved Glass Mugs and Wine Glasses
Not in the mood to DIY? The online marketplace has you covered. Etsy is still the go-to for handcrafted, small-batch work. Search “engraved glass mugs canada” and. You’ll find dozens of Canadian studios offering maple-leaf motifs and hockey-themed designs, which saves you the cross-border shipping hassle.
Amazon is faster for Prime members, though quality varies a lot. Stick to sellers with 4.5+ stars and real customer photos. For something more curated, Personalization Mall specializes in ready-to-ship engraved glassware, and they run frequent 20-30% off sales.
That makes it a solid pick for wedding party gifts.
If you’re in Johannesburg, skip the international shipping fees. They can easily double your order total. Instead, search “wine glass engraving johannesburg” on Yelp or local Facebook groups like “Joburg Crafters & Gifts.” You’ll find artisans who use rotary tools and. Laser machines, often at prices comparable to US sellers once you factor in shipping.
For bulk orders – say. 50 custom coffee mugs for a client gift or a corporate event – head to wholesale suppliers like Alibaba or local promo product companies such as 4imprint. These platforms shine at wholesale custom logo coffee mugs.
With per-unit costs dropping to $3-$6 when you order in volume. Just remember: minimum order quantities usually start at 25-50 pieces, and lead times run 2-3 weeks. Whether you’re buying one engraved mug for a friend’s birthday or a hundred for a trade show. Matching the source to your quantity and timeline makes all the difference. And if you’re also sourcing drinkware for daily use, this water bottle buying guide for 2026 covers material and durability factors worth considering.
Care Instructions for Engraved Glassware
Laser engraving gives you that frosted look, but it also changes the glass itself. The etched spots are slightly porous. So they soak up stains from coffee, red wine, or tomato juice way easier than the smooth parts around them. Getting engraved glassware care right starts with knowing that trade-off.
Hand washing is non-negotiable. Use mild dish soap and. Warm water, and clean the frosted areas with your fingers or a soft sponge. Skip abrasive scrubbers, steel wool, and those rough-surfaced scrub pads. They’ll wear down the frosted texture and leave the engraving looking patchy over time.
Keep it out of the dishwasher. Harsh alkaline detergents. High heat, and water pressure will dull the engraving’s crisp contrast, turning that sharp white frost into a murky gray haze. If you sell personalized glassware, put this warning in your product listing to cut down on returns.
Microwaving is a gamble you shouldn’t take. Unless the glass is clearly marked microwave-safe, don’t do it. The engraved areas create tiny stress points that weaken the glass honestly. And quick temperature shifts can cause cracking right along those etched lines.
Storage matters for glassware maintenance. When you stack glasses. Put a soft cloth or paper towel between each one. Better yet, store them upright. The etched areas sit slightly raised and.
Can scratch nearby glasses, and once those scratches show up, they’re there for good really. For display pieces, go with felt-lined shelves or individual glass protectors. The same principle applies to your everyday bottles—learning how to clean a straw water bottle properly can help you avoid similar stain and wear issues with your daily drinkware.
